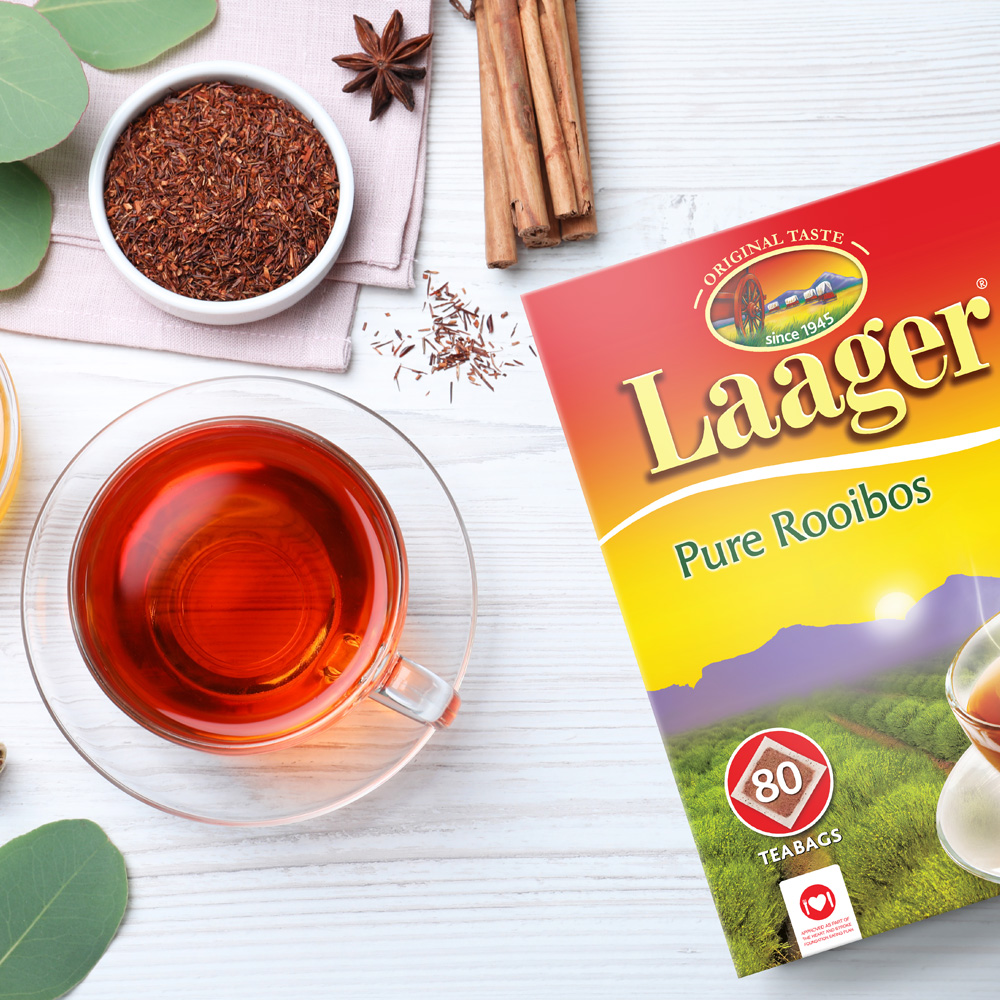
Love tea and want to be more creative in 2017? Combine both and craft your own tea cosy! Whatever your favourite tea; green, chai, earl grey or Rooibos, we’re pretty sure that a pretty tea cosy will add to the charm of your tea tray, as well as keeping your cuppa warmer for longer.
After all, looking at something gorgeous releases endorphins, which give you a boost of happiness, plus you’ll also be filled with pride at your crafting skills. A fancy tea cosy will brighten up your home, and your morning (afternoon, or evening!) tea.
Here’s what you need to create a beautiful, homemade tea cosy:
1) Sheet of paper or newspaper, A3 or larger 2 Semicircular pieces of medium-weight cotton fabric
2) Semi-circular pieces of light cotton fabric for the lining
3) A 4cm x 10cm Rectangular piece of cotton fabric for the loop
4) 2 Semi-circular pieces of polyester wadding for insulation
5) The teapot you plan to use your cosy on
6) A cup of Laager Rooibos tea to calm the mind before you get creative!
We’ve also decided to share a few helpful illustrations to guide you as well. Perhaps print them out and follow the steps and illustrations as you go!
http://image.guardian.co.uk/sys-files/Lifeandhealth/pdf/2010/06/23/teacosy.pdf
1) Cut out your pieces To make sure that your new cosy will fit, lay the teapot on its side on the paper. Draw a semicircle around the teapot, adding an extra 5cm on all of the sides to make the pattern for the body and lining. To cut the fabrics evenly, fold the semi-circle down the middle lengthwise and use the line as the cutting guide. Use this paper pattern to cut out the fabric for the body and lining. Cut the wadding 4cm smaller than the template all the way round.
2) Make the loop Fold a 1cm hem on each long side of the loop’s fabric piece and press it with an iron. Take your fabric and fold it down the middle lengthwise so that the two turned edges meet. Iron them flat and pin together. Stitch along the open side, as close to the edge as possible for a neat finish. Be sure to backstitch at the start to finish and fasten the seam. Stitch the same line along the opposite side to complete your loop.
3) Make the body Place the two body pieces of fabric together on their right sides. Fold the prepared loop in half and sandwich it between the two body pieces at the top in the middle, with the raw edges of the loop in line with the raw edges of the main body. Pin this in place. Pin the two body pieces together along the curved edge. Stitch them together with a 5mm seam allowance, catching the loop into the seam as you sew. Fold a 1cm hem over to the wrong side around the base and press it with an iron, don’t stitch this just yet. Turn the tea cosy right side out.
4) Make the lining Place the two lining pieces right sides together. Pin them in place along the curved edge. Stitch them together with a 5mm seam allowance and press. Fold a 2cm hem over to the wrong side around the base and press, but don’t stitch this just yet.
5) It’s show time! With wrong sides together, slot the lining inside the body. On each side, insert a cut piece of wadding between the main body and lining. Flatten this into place. Pin the base of the main body to the lining, making sure that the pressed hem is lined up and any pieces of wadding are tucked in. Stitch the base together the entire way around. Be sure to stitch as close to the edge of the hem as possible for the neatest overall finish.
That’s it! You’ve made your own tea cosy!
Now it’s time to enjoy a nice cup of Laager Rooibos, and admire your hard work.
Have you ever made your own tea cosy? Let us know how it turned out in the comments section below!


